Installation sequence
Hold focus on a section, then jump straight to the detailed instructions.

The Suction Line: Why This Is the Right Installation Point
Typical sacrificial install: about 30 minutes on a service call, no refrigerant or air-handler teardown. The suction line is accessible, bonded to the coil, and wet when the system runs.
Jump to suction line overview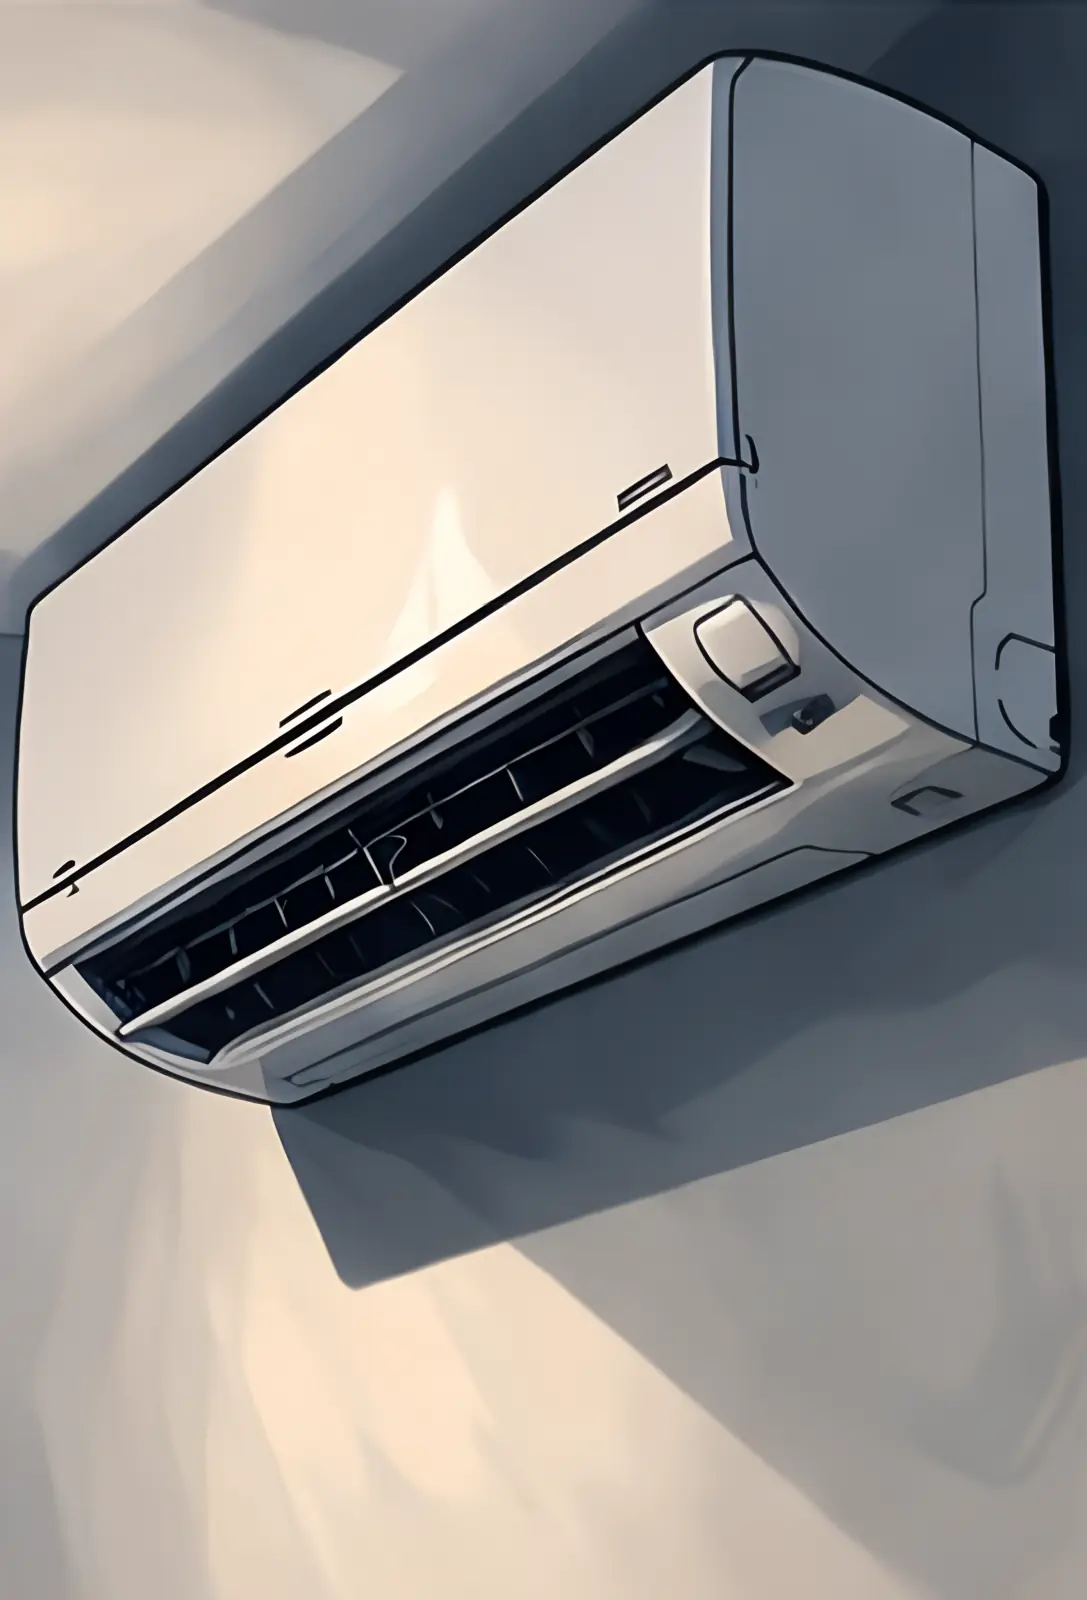
Step 1: Locate the Suction Line
Use the large insulated cold line from the air handler; expose bare copper where the clamp will sit if insulation runs the full length.
Jump to step 1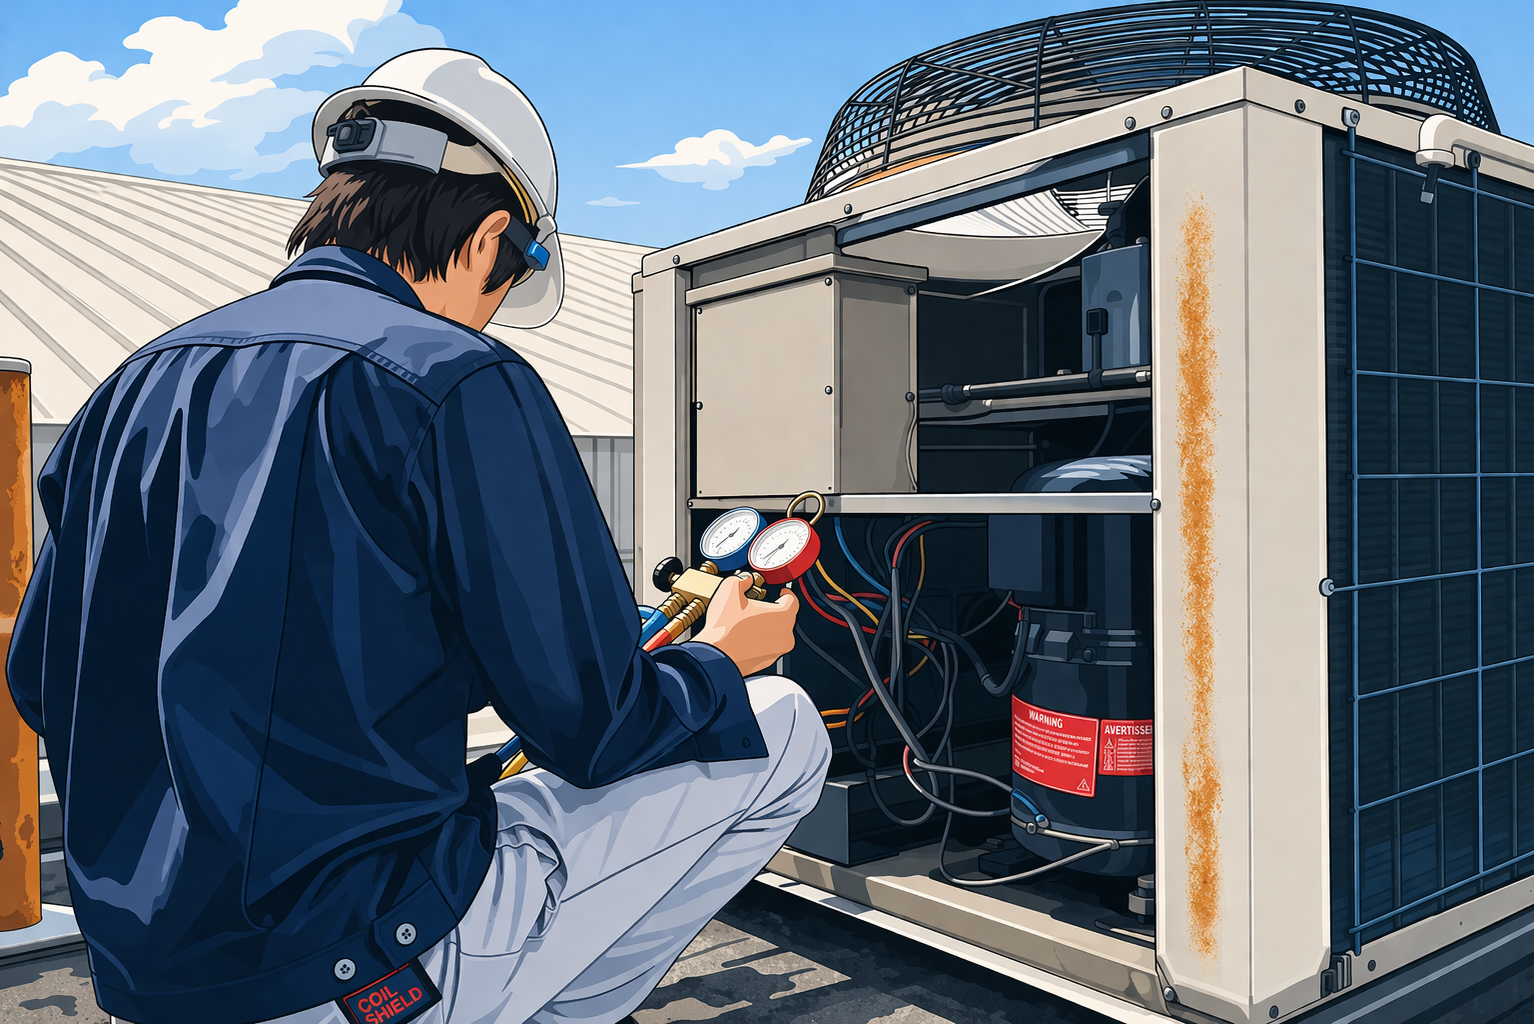
Step 2: Clean the Attachment Point
Lint-free cloth, no scoring abrasives; isopropyl alcohol for oils or flux, then dry. Aim for clean bare copper, not a mirror polish.
Jump to step 2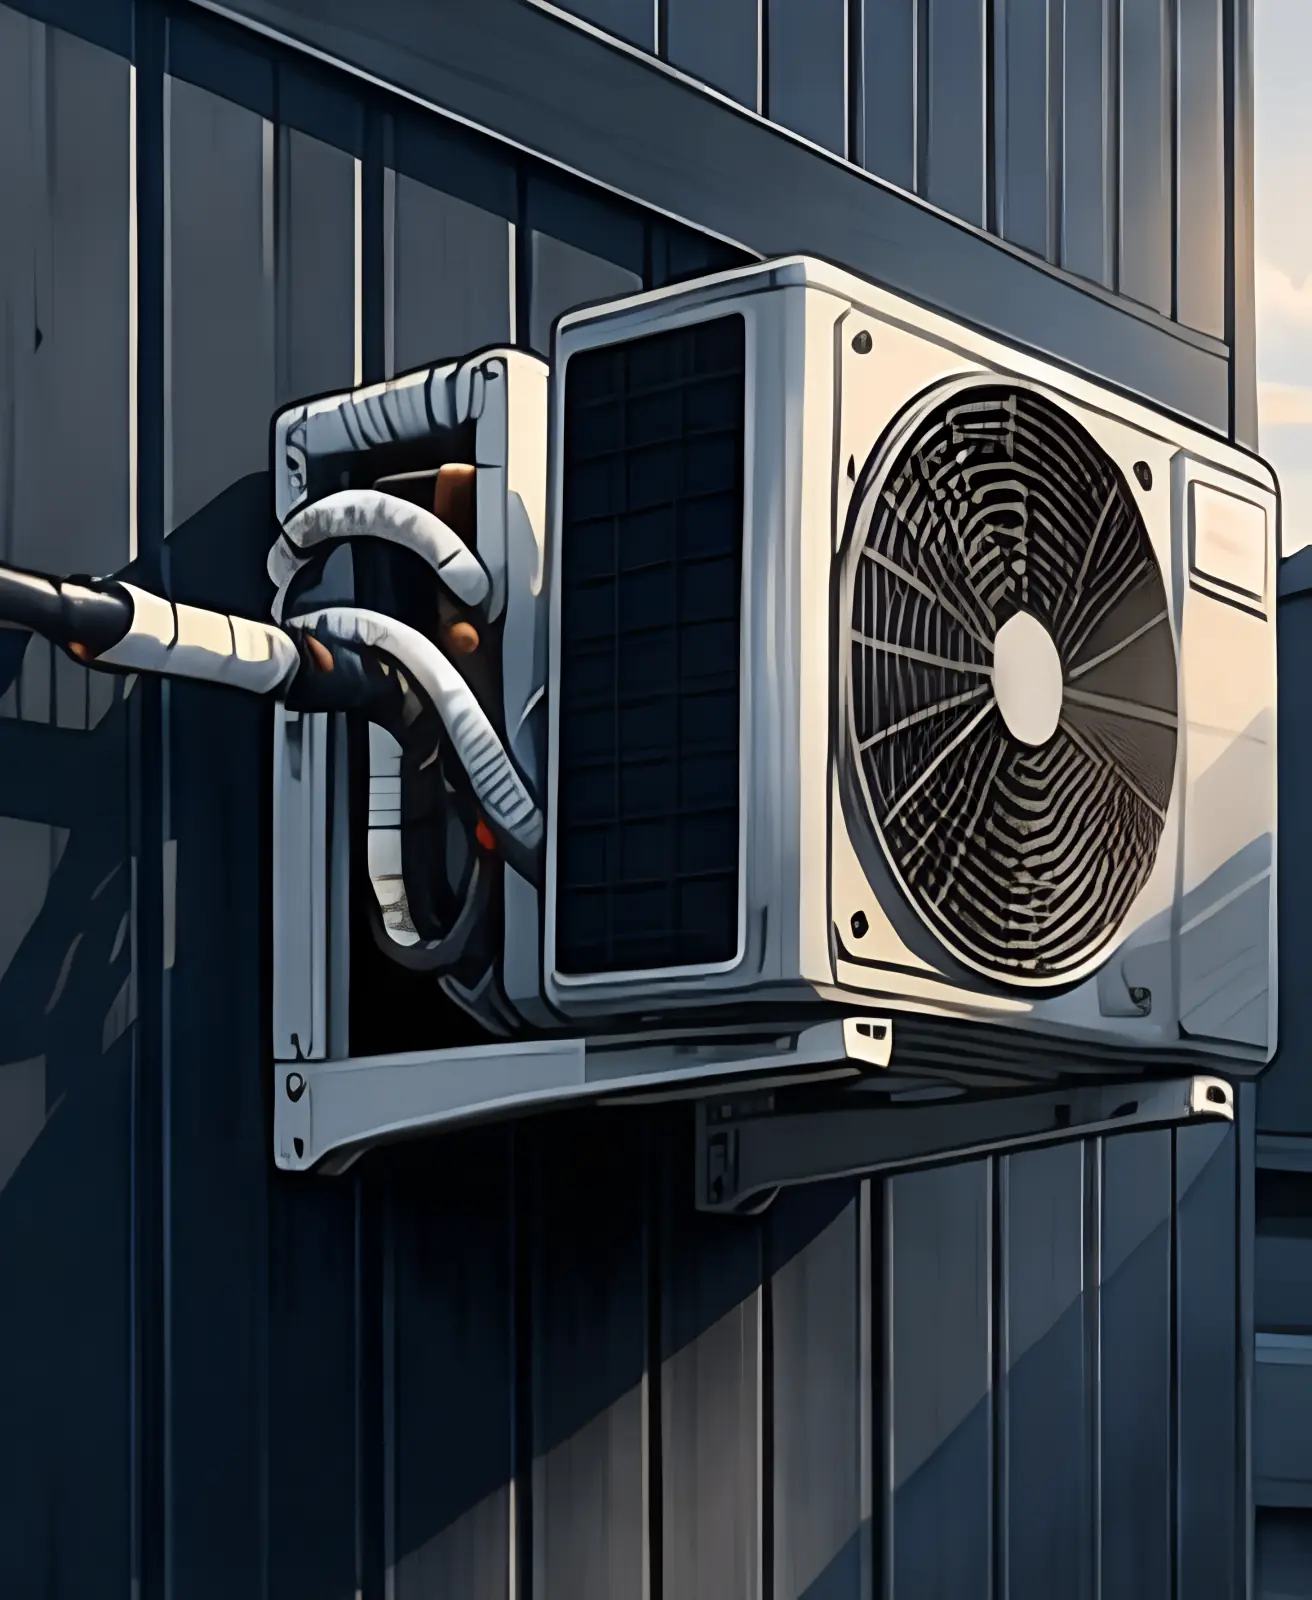
Step 3: Install the Anode Clamp
Stainless clamp, full metal-to-metal contact, no brazing or welding. Trim or reseal insulation only across the clamp width if needed.
Jump to step 3
Step 4: Verify, Operate, and Documentation
Run the system for condensate, confirm ICCP power and reference loop if applicable, log install date and anode batch; flag uneven wear for the next visit.
Jump to verification and docsStep-by-step instructions for installing CoilShield protection systems on your HVAC equipment.
The Suction Line: Why This Is the Right Installation Point
Installation is handled by any qualified HVAC technician during a standard service call. No refrigerant handling is involved. The air handler does not need to be disassembled. There are no system modifications. For the sacrificial anode system, the process takes about 30 minutes and requires only the hardware included in the kit. If you are scheduling your next annual HVAC service, ask the technician to add CoilShield installation to the visit.
CoilShield installs on the suction line, the large copper pipe that carries cold refrigerant vapor from your evaporator coil back to the outdoor unit. Three things make this the correct attachment point: it is accessible without disassembling the air handler; it is in direct metallic contact with the coil, so the electrochemical circuit runs continuously to the coil surface; and it is cold and wet during system operation (covered in condensation every time the system runs), which is the exact condition under which coil corrosion occurs. Installing on the suction line puts protection exactly where and when corrosion happens.
Step 1: Locate the Suction Line
Identify the large insulated copper pipe coming off the air handler. It is the cold line, not the small high-pressure line. When the system is running, you will often see condensation on or around the insulation. If insulation is present along the full length, locate a section close to the air handler where the copper can be accessed for the clamp width.
Step 2: Clean the Attachment Point
Clean the section of suction line where the anode will clamp. No special surface preparation is required beyond ensuring the area is clean and free of debris or residue.
Use a lint-free cloth. Avoid abrasives that score the copper surface. If flux residue or oils are present from prior work, wipe with isopropyl alcohol and allow the surface to dry completely before clamping. The goal is bare copper contact, not polished, just clean.
Step 3: Install the Anode Clamp
Clamp the magnesium anode directly to the suction line using the stainless steel clamp included in the kit. Tighten securely. The goal is continuous metal-to-metal contact across the full clamp footprint, no gap between the clamp and the copper line. No brazing, no welding, no soldering. If insulation or tape covers the chosen span and cannot be repositioned, remove only the minimum necessary for the clamp width, then reseal the insulation around the clamp after installation.
Step 4: Verify, Operate, and Documentation
Confirm the anode is seated firmly against the suction line and the clamp is secure. For ICCP systems, connect power to the controller, verify the display shows active monitoring, and confirm the reference electrode is connected and reading correctly. For either system, run the HVAC unit and allow condensate to form. Protection is automatically most active under these conditions. No further adjustment is needed.
Record the install date and anode batch number in the customer file so the technician at the next annual visit knows exactly what to inspect and when the anode is due for replacement.
If the anode wears faster than expected, note any uneven wear pattern in the service report. Early or asymmetric exhaustion in a single season usually points to unusually aggressive site conditions (high chloride, heavy industrial VOC exposure, or proximity to a pool), a clamp that lost firm contact partway through the year, or a system that runs significantly more hours than a typical residential unit. Document it and inspect clamp torque and line continuity at the next visit. The anode replacement cost is $50; diagnosing the pattern early is worth the time.
Want the full technical documentation? Contact us for complete spec sheets or email support@coil-shield.com.